
In the field of outdoor lighting, the waterproof performance of LED floodlights directly determines the product’s service life and reliability. A heavy rain, damp sea breeze, or long-term exposure to outdoor environments can cause water ingress in ordinary fixtures, leading to short circuits, light decay, or even complete failure. Among all potential water ingress risks, the seam between the light fixture’s glass cover and the housing is often the most critical yet most easily overlooked weak point.
Today, we take you behind the scenes of production to reveal a simple but vital process—how it ensures every single floodlight we produce truly meets IP65/IP66 or even higher protection ratings, through meticulous steps and unwavering craftsmanship.
Why Is the Glass Cover Area Prone to Water Ingress?
Many manufacturers’ approach to waterproofing stops at “applying glue.” However, simply applying glue and pressing the glass cover have two major risks:
1. Uneven Glue Application: Manual glue application struggles to ensure a continuous, uniform bead, potentially leaving gaps or variations in thickness.
2. Trapped Air: When pressing the glass cover, if air trapped in the glue, the air will creat air bubbles , and water will seep into the lamp body through these bubbles.
Our Solution: A Meticulous “Exhaust-Type” Glue Sealing Process
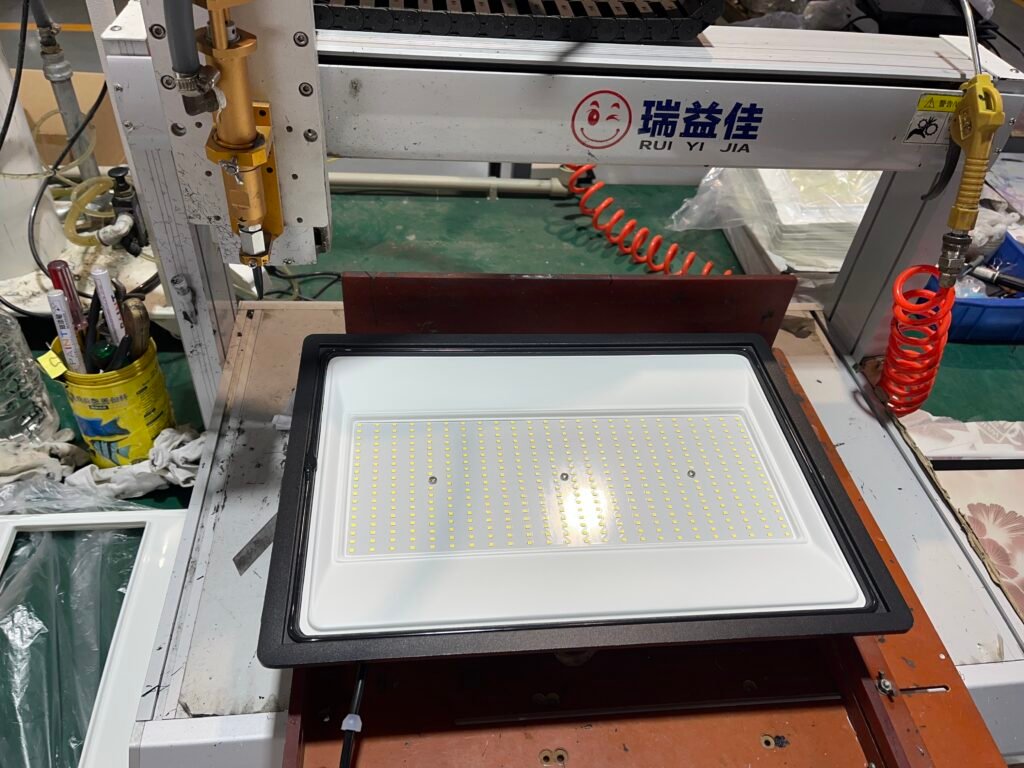
Step 1: Machine-Precision Glue Application for a Uniform Foundation
We use automated equipment to apply the glue. This ensures the glue uniform in thickness, and continuous without breaks. This creates a reliable foundation for the final seal, eliminating from the start any gaps caused by insufficient or uneven glue.
Please check one of ours as below photo, you can find the glue is much uniform:
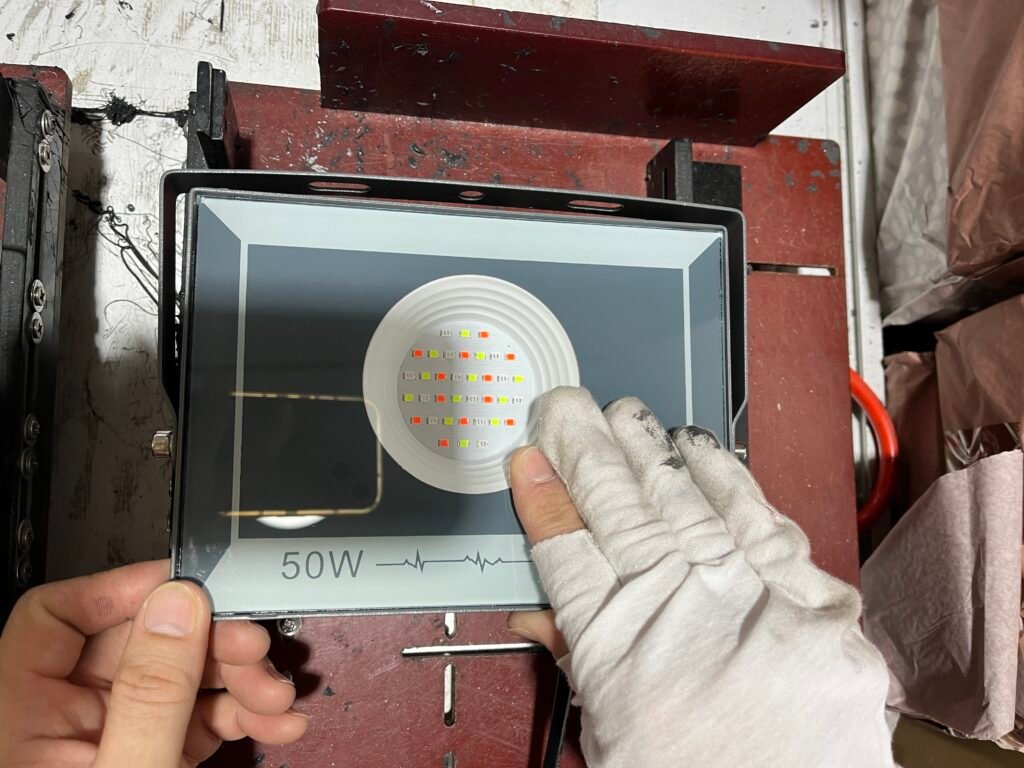
Step 2: The Crucial Manual Air Evacuation and Pressing
This is the step where craftsmanship shines. After aligning and placing the glass cover onto the housing, our operators perform a critical action: press the glass firmly and gently move it up, down, left, and right to expel air.
Purpose: This step is absolutely not redundant. The sustained pressure and movement force excess glue to evenly fill every corner and, crucially, expel all air trapped between the glue, glass, and housing. This results in a dense, bubble-free, complete sealed layer.
It’s similar to applying a screen protector to a phone, where professionals firmly scrape to remove all bubbles. Our process follows the same principle , as it safeguards the fixture’s waterproof integrity.
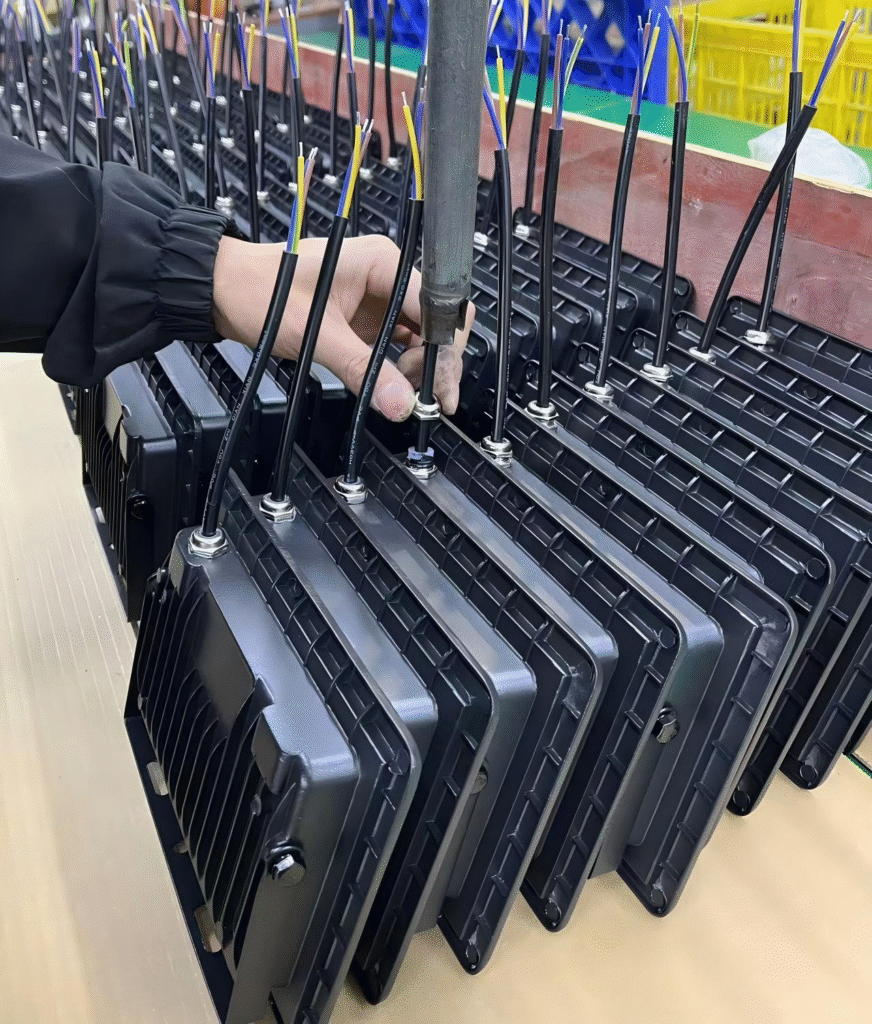
Step 3: Dual-Sealing for Absolute Assurance
After the glue has fully cured, forming a strong yet flexible seal, we proceed to the final step: tightening the wire outlet screw cap. At this point, the fixture achieves a complete sealed system.
We’ve been using this technology since 2022, and we conduct waterproof tests on every batch of orders. As long as the casing doesn’t have pinholes that could allow water ingress, we can essentially guarantee 100% waterproofing. For outdoor lighting fixtures like these, waterproofing is the most basic requirement, lumen efficiency, surge protection, and other performance characteristics come second.
Want to learn more about our production process? Please contact us freely.